10 Steps for Basic Barbecuing
1. Choose your type of barbecue
Disposable: This is the most inexpensive type of barbecue, perfect for a picnic or camping trip. It consists of a small foil tray containing charcoal and a metal rack over the top. It will last up to an hour and can only be used once.
Portable: As the name suggests, portable barbecues are easy to carry and can be folded away to fit into the boot of a car.
Brazier: One of the most straightforward designs and most inexpensive types of charcoal grills, this consists of a grill rack placed over a metal pan. Some have legs while others have wheels, but they generally do not have a lid or venting system. Kettle-grill: This is a popular type of barbecue — it is versatile and efficient and can be used with the cover on for smoking and roasting foods. The lid also offers protection from the wind and rain.
The temperature can easily be controlled using the air vents. have legs while others have wheels but they The temperature can easily be controlled using the air vents.
Permanent: A fixed barbecue is inexpensive to build in your garden and can be made of simple materials, such as bricks, a metal tray and a grill rack. It is an excellent choice if you cook outdoors frequently.
Gas: There is a vast variety of gas models on the market, and the choice is down to the size of your budget. They are incredibly simple to use but won’t give the food the smoky flavour traditionally associated with barbecuing.
2. Choose your fuel
Charcoal: Lumpwood charcoal is easy to ignite and inexpensive, but burns relatively quickly. Charcoal briquettes can take a while to ignite but will burn for a long time with little smoke. Self-lighting charcoal is lump wood charcoal or briquettes that have been coated with a flammable chemical. Ensure that you wait until the chemical has burnt off before cooking or it may taint the food.
Wood: This is trickier to use than charcoal because wood burns fiercely for a shorter time and then cools rapidly. Always use hardwoods, such as oak, apple or cherry, because they burn slower than softwoods and have a pleasant smell.
Gas: Various sizes of bottles and cylinders of propane or butane gas can be ordered from gas suppliers and delivered to your home, or bought from large hardware shops. Check the manufacturer’s instructions for the correct type for your barbecue.
3. Get your tools ready
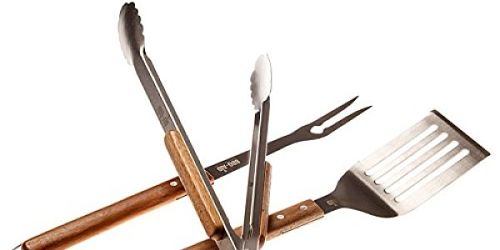
You will need long-handled tongs and spatulas for turning food and removing it once it is cooked. A brush is useful for brushing the food with oil or marinades during the cooking. Oven gloves are essential for preventing burnt hands. Keep a water spray handy for dealing with flare-ups.
4. Pick your spot
If you are not using a fixed grill, be sure to choose a place on a flat surface in an area that is sheltered from the wind. Keep the barbecue away from trees and shrubs. Once it is lit, do not move it.
5. Prepare the barbecue
If you are using a charcoal barbecue, use foil to line the base. This will make cleaning more comfortable and keep the base of the barbecue hot. Spread a layer of fuel on the bottom of the barbecue — small pieces at the bottom and medium-sized pieces on top of them work best. The thickness of charcoal or wood should be five cm/2 inches deep and resemble a pyramid in the centre of the grate (if you are using firelighters, see below).
Gas grills require no preparation, although it is advisable to check that you have plenty of gas left in the cylinder before you start cooking.
6. Light the barbecue
If using firelighter cubes, place one or two in the centre of the pyramid. If using liquid firelighter, pour a few tablespoons over the fuel. Light the barbecue using a long match or taper. If you are using a charcoal barbecue, remember that you will need to light it at least 40 minutes before you want to cook.
If using a gas barbecue, open the lid and then open the gas tank. Give the gas chamber 2 or 3 seconds to fill, then press the ignite button. Once all the burners are lit, close the lid to let it preheat. For further information, check the manufacturer’s instructions.
7. Prepare to cook
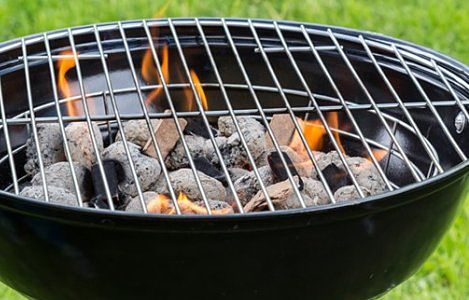
When the charcoal is hot (about 30 minutes after lighting, depending on the type of charcoal used), it will glow a red to orange colour, then gradually turn a whitish grey. It is now ready to be spread over the base of the barbecue in an even layer.
Gas barbecues generally only take 10 minutes to heat up.
8. Control the heat
To control the heat of a charcoal grill for cooking, you can raise or lower the grill rack. If your barbecue has vents, open these to raise the temperature and close them to lower it.
The heat of a gas barbecue can be controlled at the flick of a switch. It is usually best to light the barbecue to its highest setting and reduce the heat as needed.
9. Get the food ready
If food has been chilled, return it to room temperature before cooking. Any frozen food should be completely defrosted. If any food has been marinated in a liquid, drain it thoroughly.
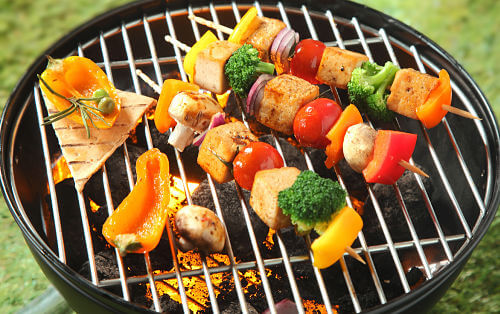
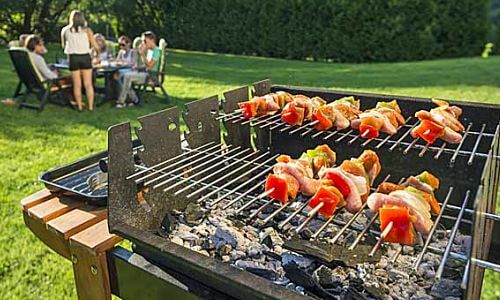
10. Get cooking
Do not overcrowd food on the grill rack because this will prevent it from cooking properly. You may want to use a separate grill for cooking vegetarian meals and desserts. Make sure to turn food frequently during cooking and check it is cooked all the way through before eating.